
Essential Steps for Efficient Fireplace Repair at Home
You can fix many common fireplace issues in under an hour by clearing soot from pilot assemblies and thermocouples, filling firebrick gaps with refractory mortar, and lubricating stuck damper hinges. Start by confirming the fireplace is completely cool to the touch. For gas appliances, always shut off the dedicated gas isolation valve. For wood-burning systems, confirm that all embers have been cold for at least twenty-four hours. When you dedicate thirty to sixty minutes to routine maintenance, you can solve many minor hearth issues before they evolve into safety hazards. Taking on basic upkeep requires a clear understanding of fuel shutoff protocols, carbon monoxide risks, and proper ventilation. You can learn more about preserving system safety by reading expert chimney and fireplace restoration secrets.
DIY Gas Fireplace Repair for Pilot and Ignition Troubles
Gas units are convenient, but dirt, dust, and electrical wear can prevent them from igniting smoothly. If your pilot light will not spark or stays lit for only twenty to forty seconds before clicking off, the flame sensor or thermocouple is often coated in carbon deposits.
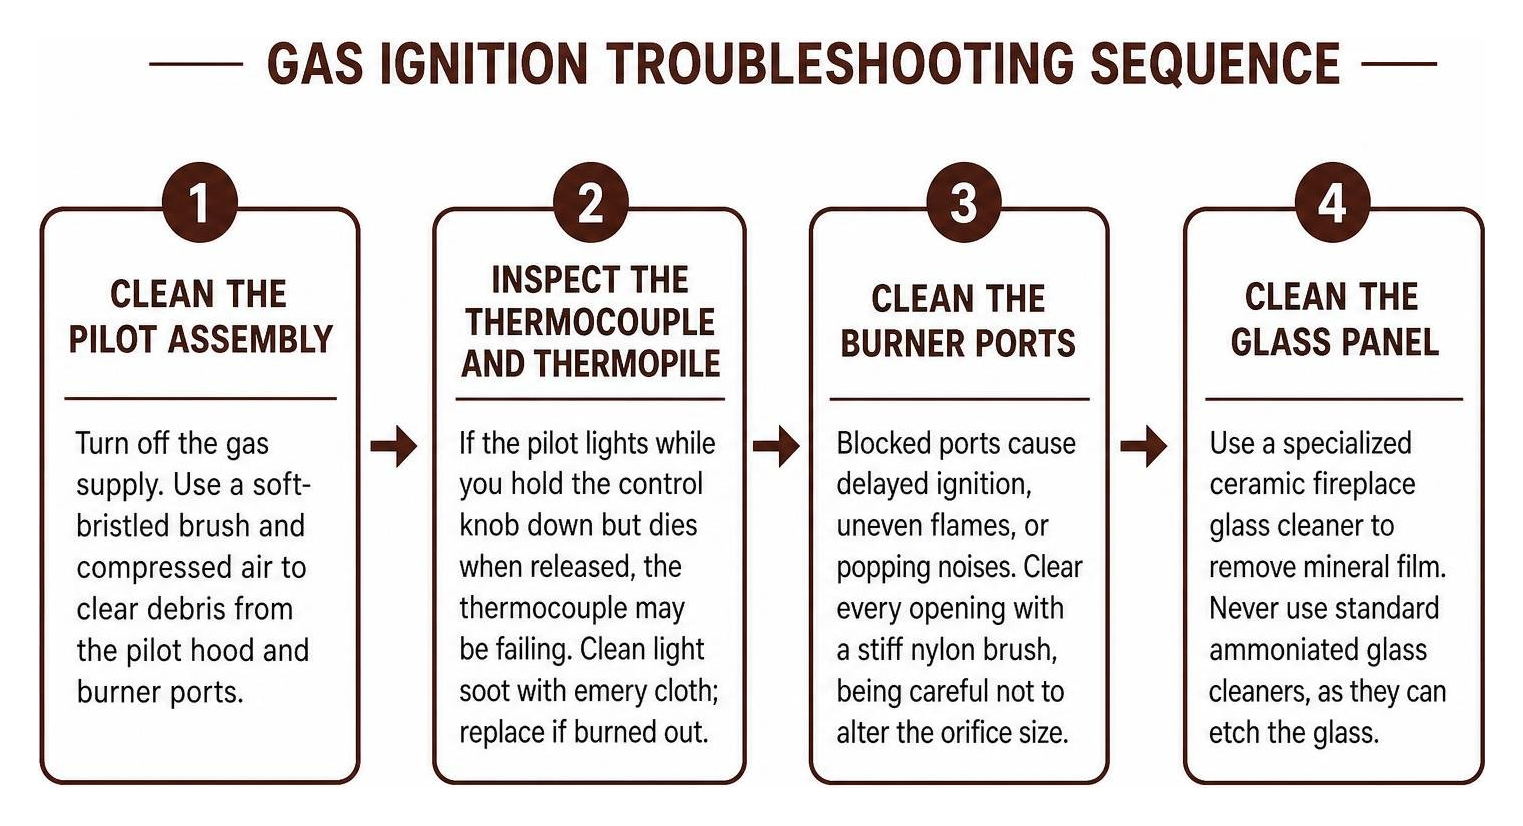
- Clean the Pilot Assembly: Turn off the gas supply. Use a soft-bristled brush and a can of compressed air to clear spiderwebs, pet dander, and soot from the pilot hood and burner ports.
- Inspect the Thermocouple and Thermopile: If your pilot lights while you hold the control knob down but dies the moment you release it, the thermocouple is likely failing to generate the small millivolt signal required to keep the internal safety magnet open. While light soot can be gently buffed off with an emery cloth, a burned-out unit requires replacement.
- Clean the Burner Ports: Blocked ports cause delayed ignition, uneven flames, or popping noises. Clear every opening with a stiff nylon brush, taking care not to alter the metal orifice size.
- Clean the Glass Panel: Combustion produces a white, hazy mineral film on the interior glass. Clean this using a specialized ceramic fireplace glass cleaner. Never use standard ammoniated household glass cleaners, as they can etch the tempered glass permanently.
If you are exploring options for upgrading or servicing fireplaces & outdoor grills, understanding these baseline diagnostics ensures your system operates smoothly throughout the winter.
Masonry Fireplace Repair for Firebrick Joints and Cracks
Wood-burning fireboxes endure intense thermal cycling, with internal temperatures regularly exceeding 1,000°F. Over time, standard mortar erodes, leaving exposed joints that let dangerous heat transfer directly into surrounding wall framing.
- Inspect Joint Integrity: Check the back and side walls of the firebox. Any gap larger than 1/8 inch between firebricks needs attention.
- Remove Failing Mortar: Use a cold chisel and a small hand hammer to rake out loose, crumbly mortar to a depth of about 1/2 inch.
- Apply High-Temperature Refractory Mortar: Dampen the brick surfaces lightly with water to prevent the dry brick from pulling moisture out of the fresh mix. Press premixed refractory mortar firmly into the joints using a tuckpointing trowel, striking the joints flush with the brick faces.
- Repair Hairline Surface Cracks: Minor hairline fissures across firebrick faces can be sealed with high-heat refractory cement rated for 2,000°F or higher. However, if a brick is split completely in half or loose, remove the damaged unit and set a new refractory brick in fresh mortar.
Homeowners planning structural restorations can review our guide to local brick fireplace restoration for insight into complex firebox rebuilds. For broader masonry context, see Masonry.
Rapid Troubleshooting for Gas and Wood Heating Units
Draft and airflow issues are among the most common complaints for both wood and gas hearth systems. The table below outlines standard symptoms and their quick remedies:
| Symptom | Likely Root Cause | Quick Remediation (Under 60 Mins) |
|---|---|---|
| Smoke puffs into room on startup | Cold flue air column or closed damper | Prime the flue with a rolled paper torch; open damper fully |
| Sluggish flame / heavy soot on glass | Air shutter misadjusted or clogged intake | Vacuum dust from primary air mixer; adjust air shutter open |
| Persistent sulfur or smoky odor | Downdrafting or creosote condensation | Check exterior chimney height; clear debris from chimney cap |
| Whistling sound during operation | Air leak at door gasket or loose flue seal | Replace worn braided fiberglass gasket rope around doors |
| Pilot goes out during windy days | Missing termination cap or downdraft | Install a wind-directional or high-wind chimney termination cap |
Unsticking Dampers and Clearing Flue Obstructions
A throat damper that refuses to open or close creates drafts and smoke spillage. Dampers frequently bind due to surface rust, soot accumulation, or dropped mortar chunks.
To unstick a stubborn cast-iron damper, reach inside the cool firebox with a wire brush and clear all scale from the hinge pins and perimeter track. Apply a liberal coat of high-temperature, heat-resistant silicone or graphite lubricant to the pivot points. Work the handle back and forth until the plate seats tightly against the frame.
If you notice twigs, nesting materials, or leaves falling onto the smoke shelf, install a stainless steel chimney cap with wire mesh. Caps prevent birds, squirrels, and debris from entering while stopping downdrafts caused by crosswinds.
Removing Creosote and Managing Smoke Backdrafts
Creosote forms when unburned wood gases cool and condense along flue walls. It progresses from light, powdery soot (Stage 1) to sticky, tar-like flakes (Stage 2), and finally to a hardened, highly flammable glaze (Stage 3).

Proper venting relies on the “3-2-10 rule” established by building and fire codes:
- The chimney must extend at least three feet above the highest point where it penetrates the roofline.
- The top of the flue must sit at least two feet higher than any portion of the building or obstacle within a ten-foot horizontal radius.
If a chimney is too short, turbulent air flowing over the roof ridge creates positive pressure that forces smoke back down the chimney. Combining proper chimney height, dry hardwood fuel, and regular chimney services keeps airflow moving upward and out of your home.
Structural Restoration and Chimney Weatherproofing
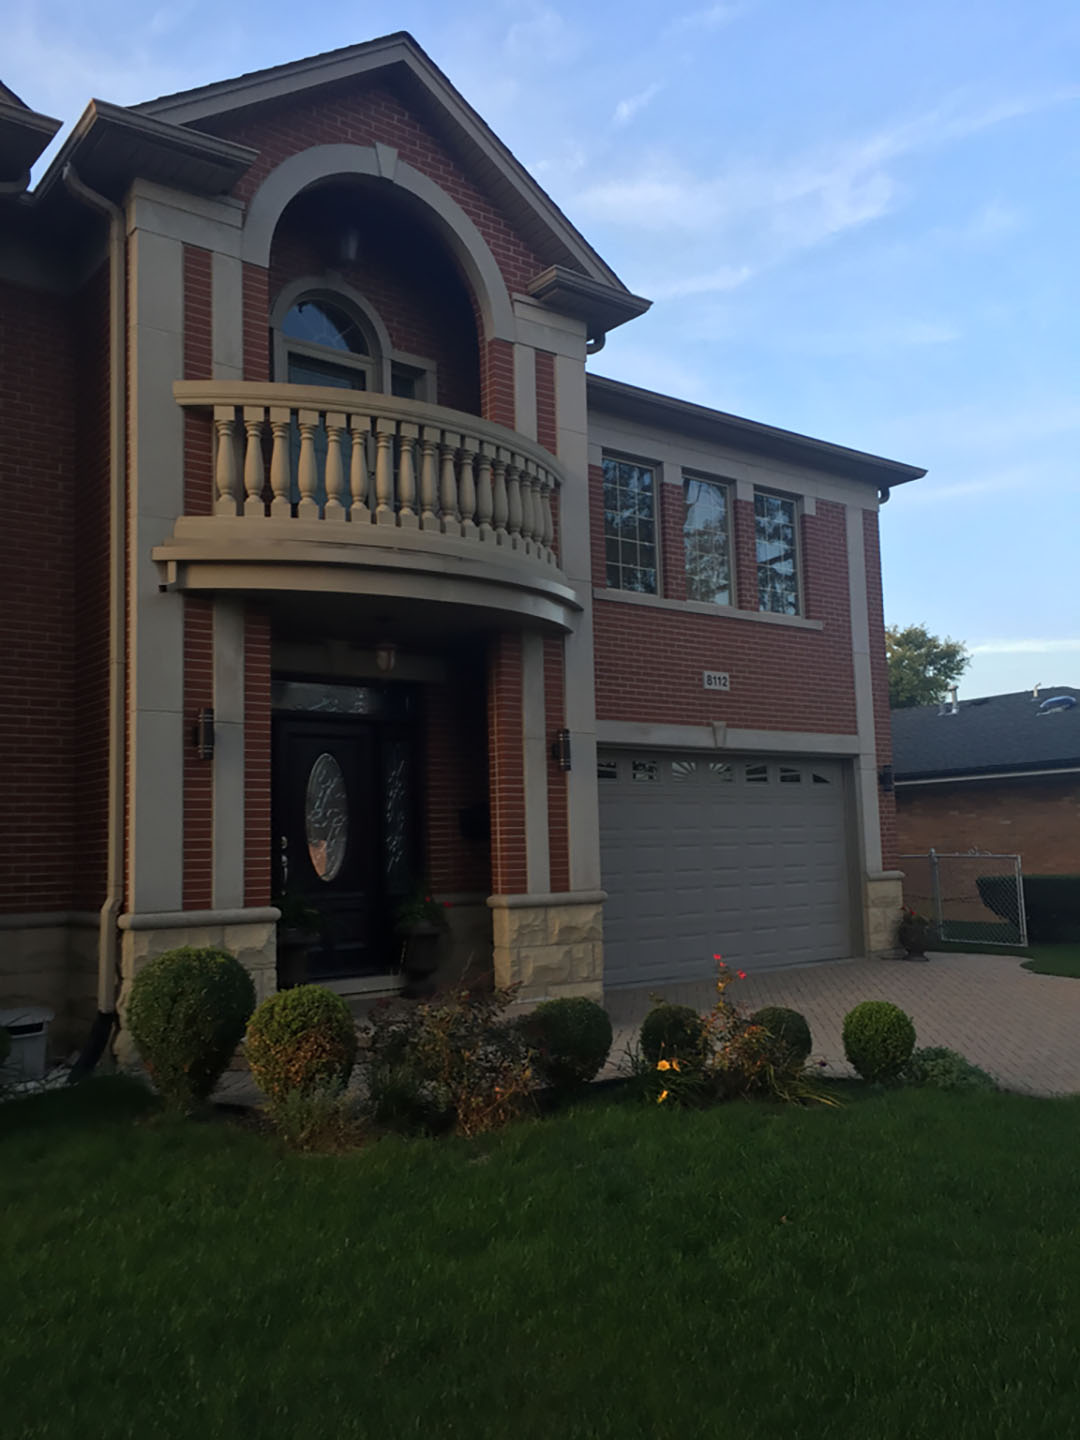
Outdoor weather elements cause substantial wear on masonry chimneys. Rain, snow, and freeze-thaw cycles break down exterior mortar joints, leading to spalling bricks and water infiltration. Maintaining structural integrity requires regular tuckpointing to grind out decayed mortar and replace it with fresh, color-matched lime mortar.
Repairing Damaged Crowns and Exterior Masonry Joints
The concrete chimney crown at the top of your masonry stack serves as the first line of defense against rain. When crowns crack from seasonal expansion and contraction, water seeps into the brickwork below, popping the faces off bricks during winter freezes.
- Clean the Crown Surface: Scrub away moss, loose cement, and algae with a stiff wire brush.
- Patch Structural Gaps: Fill deep fractures with high-performance elastomeric mortar patching compound.
- Apply a Waterproof Membrane: Brush a flexible, breathable crown sealant over the entire top surface, extending it down over the edge to create an overhang.
For severe deterioration where the crown has cracked through to the clay flues, professional chimney crown repair in Franklin Park, IL prevents moisture from entering the structure.
Fixing Flashing Leaks and Refractory Wall Liners
Water stains on ceilings near a chimney usually stem from deteriorated roof flashing or rusted chase covers on prefabricated units.
- Inspect Flashing Joints: Check the L-shaped base flashing and counter-flashing embedded in the brick mortar joints. If the polyurethane sealant has dried, cracked, or pulled away, scrape out the old caulk and apply an exterior-grade masonry flashing sealant.
- Replace Deteriorated Chase Covers: Prefabricated chimney chases often feature flat, galvanized metal tops that collect standing water and rust. Replacing a rusted cover with a custom-fabricated, pitched stainless steel chase cover prevents internal water leaks.
- Check Refractory Wall Liners: In factory-built units, inspect the internal refractory panels. If cracks widen past a nickel’s thickness, replace the panels immediately to stop heat from penetrating the metal cabinet walls.
For persistent water intrusion around roof junctions, dedicated chimney flashing repair in Franklin Park, IL seals the roof-to-masonry joint against heavy storms.
Frequently Asked Questions About Fireplace Upkeep
Why does my gas pilot light keep going out?
A gas pilot light typically extinguishes because of a worn-out thermocouple, a clogged pilot orifice, or draft interference. Over time, thermocouples oxidize and lose their ability to generate the millivolt current required to hold open the safety gas valve. Cleaning the probe with an emery cloth or vacuuming dust from the pilot hood often solves the problem.
Is it safe to use a fireplace with a cracked firebox?
Hairline surface checks in refractory mortar are common, but using a fireplace with deep cracks that penetrate through the brick or refractory panel is unsafe. These gaps allow 1,000°F+ heat, sparks, and carbon monoxide to reach combustible wall framing behind the masonry, creating a structure fire risk. Seal all gaps with refractory mortar before lighting another fire.
How do I know if my chimney damper is failing?
A failing damper will stick, show heavy rust scale, fail to open smoothly, or let noticeable cold drafts into the home when shut. If scraping away surface debris and applying heat-resistant lubricant does not restore a tight seal, the frame may be warped from excessive heat, requiring a new cast-iron throat damper or a top-sealing damper installation.
Conclusion
Carrying out routine maintenance, cleaning dust from burner assemblies, sealing minor firebox cracks, and checking exterior mortar helps keep your fireplace operating safely and efficiently. Small, proactive inspections protect your living space from smoke, water leaks, and hidden fire hazards. When dealing with damaged flues, loose brickwork, or flashing failures, turn to the trusted team at PN Masonry for skilled, code-compliant masonry care across residential and commercial properties.